Adding before-and-after photos to your aesthetic clinic website can make a real difference. They provide a visual, trustworthy way to demonstrate your work and the results clients can realistically expect. However, success depends on more than taking a few quick pictures.
There’s a professional and ethical way to present them—one that builds confidence while keeping your clinic compliant with UK advertising standards. This guide explains how to use before-and-after photos effectively so they enhance your clinic’s credibility without creating problems.
Key Takeaways
- High-quality before-and-after photos showcasing genuine patient transformations build trust and help potential clients understand achievable treatment outcomes.
- Consistent photography—same lighting, camera angles, and equipment—ensures authenticity and prevents misleading impressions.
- Always obtain explicit written consent before using patient photos, and de-identify images where appropriate to protect privacy.
- Strategic placement on your website and digital marketing materials, combined with honest representation, maximises the impact of your visual assets.
- Adhering to UK advertising and data-protection guidelines while maintaining transparency reinforces professional integrity and patient confidence.
Showcasing Transformation: The Power of Before-and-After Photos
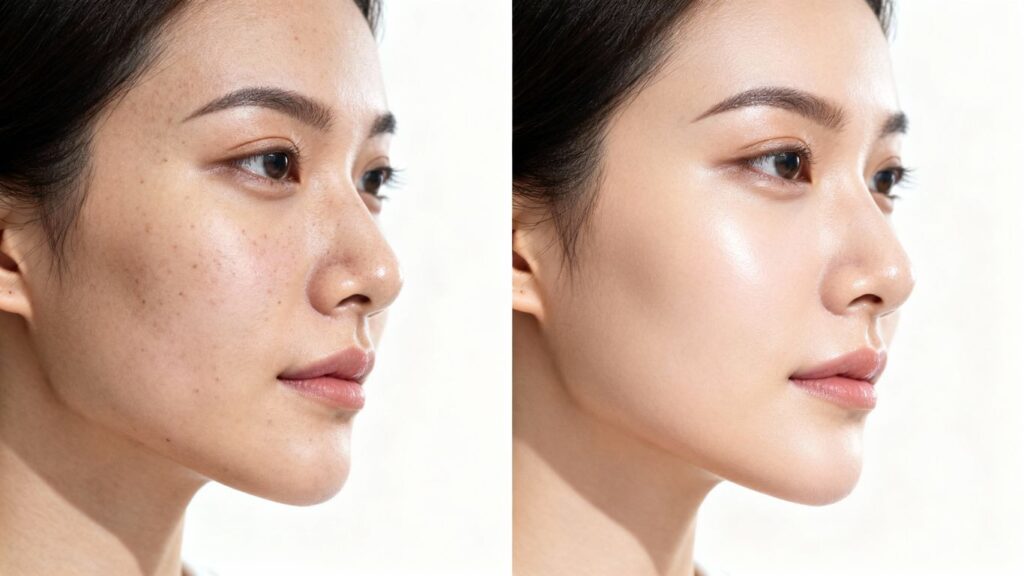
Before-and-after photos are more than images; they’re a powerful way to demonstrate the real impact of your aesthetic treatments. They help prospective clients visualise achievable outcomes and connect emotionally with the results they hope to attain.
Seeing is believing—well-presented before-and-after galleries are often more persuasive than lengthy text or polished website design.
Visualising Patient Journeys
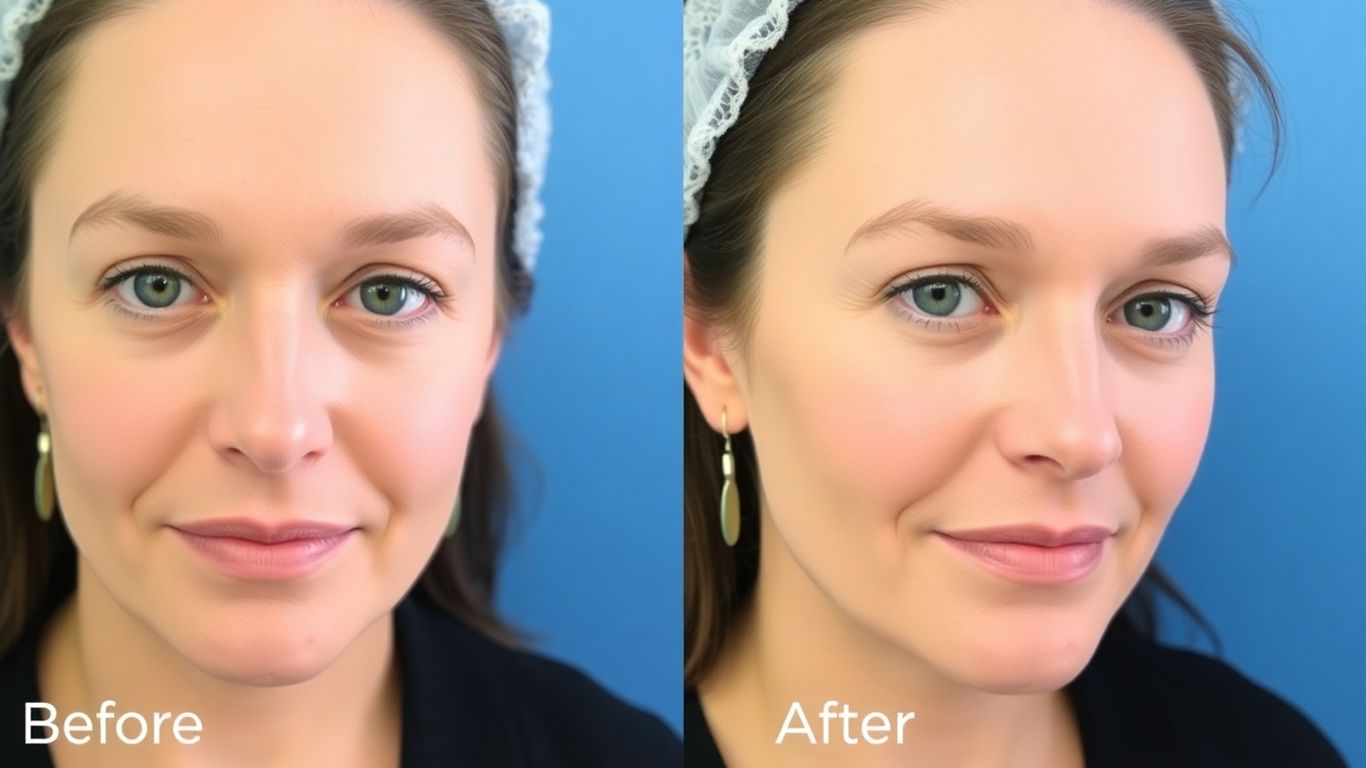
These images provide a tangible narrative of each patient’s journey—from their starting point to the desired outcome. This kind of visual storytelling helps prospective patients imagine themselves in that process, making treatment possibilities feel relatable rather than abstract.
Transformation shown visually communicates far more effectively than text alone.
Building Trust Through Authentic Results
Authenticity is essential. When potential clients see genuine, unaltered results, it builds lasting trust. This visual proof reinforces that your clinic delivers on its promises and that the results shown are realistically achievable.
Every image should accurately reflect the true outcome of your procedures.
Enhancing Website Engagement
Before-and-after galleries attract attention and make your website more engaging. They break up text-heavy pages with compelling visual content that keeps visitors exploring longer.
A dynamic display of patient transformations can lower bounce rates and guide users towards treatment pages or booking forms. Think of these visuals as silent ambassadors for your clinic—working continuously to highlight your expertise and results.
Capturing Consistent and Credible Visuals
Capturing the right look for your before-and-after photos is about more than taking quick snapshots. It’s about creating a visual story your potential patients can trust. When every photo in a series is taken under identical conditions, it reflects professionalism and attention to detail.
This consistency builds confidence by showing that your results are reproducible, not coincidental. Think of it as establishing a solid foundation for your clinic’s visual marketing.
Essential Equipment for Professional Photography
You don’t need a professional studio to achieve excellent results. Most modern smartphones can capture high-quality images; the key lies in consistent setup and technique.
A few essential tools will ensure every image looks polished and professional.
- A good-quality smartphone: One you’re familiar with and can rely on for consistent image quality.
- Tripod: Essential for keeping the camera steady and at a fixed height and angle each time.
- Ring light: Provides even lighting, removing harsh shadows and ensuring balanced illumination. Choose one with adjustable brightness.
- Plain backdrop: A solid-colour fabric or poster board works best. Avoid patterns or textures that could distract from the patient.
Setting Up Your Dedicated Photo Space
Choosing the right spot in your clinic makes a noticeable difference. Select an area where you can control the environment—particularly the lighting. A room without windows, or one with reliable blackout blinds, helps you avoid variations in natural light throughout the day.
Here’s a simple setup guide:
- Choose a consistent location: Designate one specific area for all your photography. This minimises variables.
- Set up your backdrop: Hang your plain backdrop against a wall. Make sure it’s smooth and free of wrinkles.
- Position your tripod: Place your tripod at a set distance from where the patient will be sitting or standing. Mark this spot on the floor with tape so you can return to it precisely every time. A distance of about 1 to 1.5 metres is often a good starting point.
- Set up your lighting: Position your ring light in front of the patient, ensuring it’s at a consistent height and angle relative to the camera.
Mastering Consistent Lighting and Angles
Consistency is essential. Even small variations in lighting or angle between ‘before’ and ‘after’ shots can make results appear unreliable, leading patients to question the authenticity of the change.
- Lighting: Always use your ring light. Avoid using natural light from windows, as it changes throughout the day and can cast different shadows. Keep the brightness setting the same for all photos.
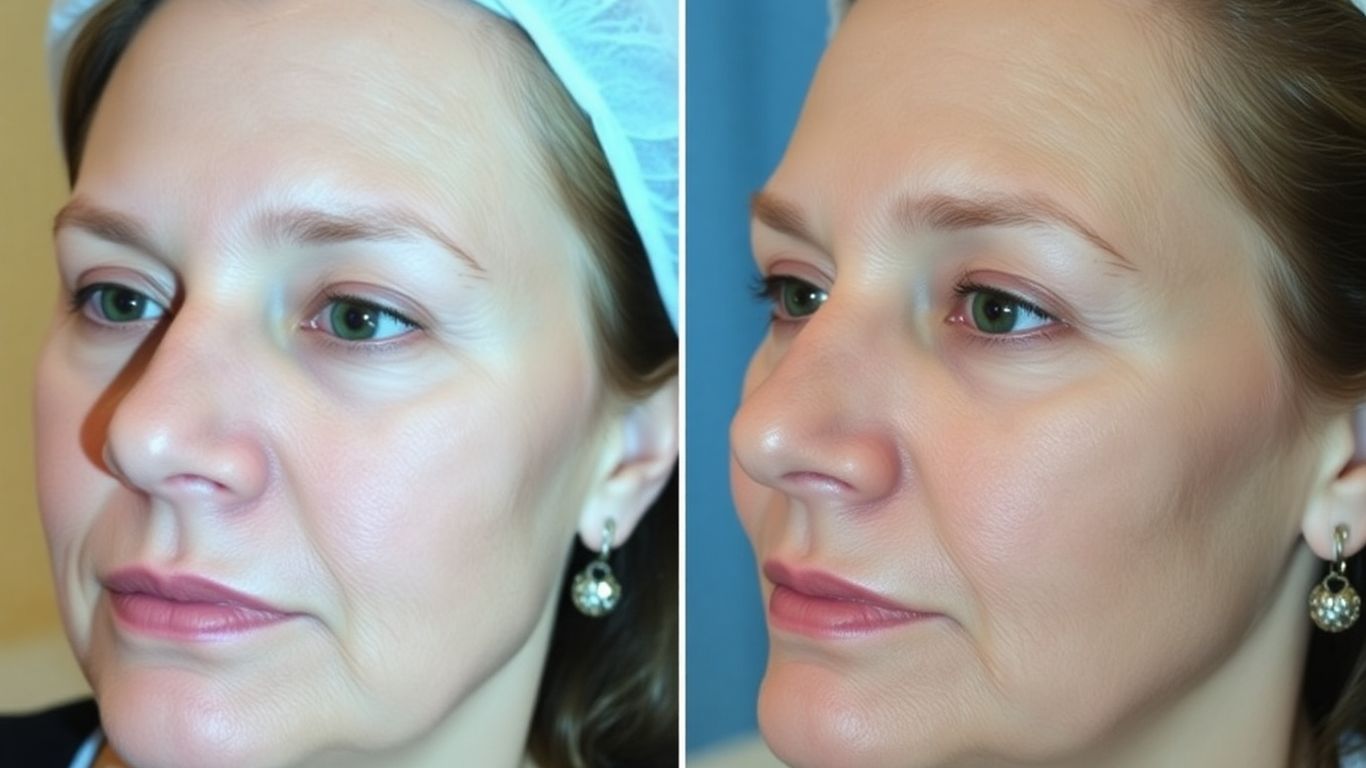
- Angles: You should aim for at least three standard angles for each patient: a straight-on front view, a left profile, and a right profile. Ensure the patient’s head is held level and not tilted. It can be helpful to have a baseline photo and take multiple shots from that exact position to get the best match.
- Distance and Height: Use your marked spot on the floor and your tripod to maintain the exact same distance and camera height for every single photo. This is what makes the comparison truly effective.
The goal is to make it look like the ‘after’ photo was taken moments after the ‘before’ photo, with the only difference being the positive outcome of the treatment. This level of detail builds significant trust with potential clients.
Here’s a quick reference table for common treatment areas:
| Treatment Area | Standard Angles | Additional Notes |
|---|---|---|
| Face | Frontal, Left Profile, Right Profile | Patient should have a neutral expression, hair pulled back. |
| Body | Frontal, Left Profile, Right Profile, Back | Patient should maintain the same posture. Clothing should reveal the treated area clearly. |
| Specific Features (e.g., nose, lips) | Frontal, Left Profile, Right Profile | Close-up shots focusing on the area of treatment. |
Ethical Considerations and Patient Consent

When showcasing patient transformations, ethics and consent must come first. This goes beyond compliance; it’s about respecting the individuals who place their trust in your care and reinforcing a reputation built on integrity.
Obtaining Express Written Consent
Before photographing any patient, have a clear discussion explaining what will be captured, why the images are needed, and how they may be used. Document this conversation in the patient’s medical record. A signed consent form ensures mutual understanding and legal clarity.
- The specific reasons for taking the photographs.
- What will be photographed or recorded.
- Whether the patient will be identifiable in the images.
- The potential purposes or applications for the photos (e.g., website, social media, internal training).
- Who might have access to the photographs and in what context.
- The patient’s right to refuse, withdraw, or modify their consent at any time.
It’s vital that patients don’t feel pressured into giving consent. The power dynamic in a clinic setting can sometimes make people feel obliged, so be mindful of this and take steps to ensure their decision is truly voluntary. Offering incentives for consent is also a no-go.
De-identifying Patients for Online Use
After obtaining consent, protecting patient privacy remains essential—particularly for online use. Remove all personal identifiers that could link an image to an individual. This extends beyond blurring a face and includes:
- Removing patient names from file metadata.
- Avoiding any identifying details in the image itself (like unique birthmarks or tattoos, unless specifically agreed upon for illustrative purposes and anonymised).
- Ensuring that any accompanying text or captions do not inadvertently reveal personal information.
If you’re using historical photos, it can be tricky to get consent years later. If there’s any chance a patient could be identified, it’s best to avoid using the image unless you can get explicit permission.
Transparency in Outcome Representation
Authenticity is key when presenting before-and-after photos. Patients are looking for real results, and it’s your responsibility to show them honestly. This means:
- Never alter images to exaggerate results. Minor adjustments for lighting or cropping are acceptable, but edits that change clinical outcomes are unethical and breach UK advertising standards.
- Be clear about the type of procedure performed and the timeframe between the ‘before’ and ‘after’ shots.
- If a patient had multiple treatments, make that clear. Don’t present a final result as if it was achieved after a single session if that wasn’t the case.
Here’s a quick guide to what should be included in your consent process:
| Aspect | Details |
|---|---|
| Purpose of Photos | Clearly state why images are being taken (e.g., website, marketing, medical record). |
| Usage Rights | Specify where and how the photos will be used (e.g., clinic website, social media, print advertising). |
| Patient Identifiability | Detail measures taken to anonymise photos (e.g., blurring, cropping). |
| Withdrawal of Consent | Explain the process and implications of a patient withdrawing consent at a later stage. |
| Data Storage & Security | Briefly mention how images will be stored securely and for how long. |
Being upfront and honest about the use of patient photos builds a strong foundation of trust. It shows you value their privacy and are committed to ethical practice, which ultimately benefits both the patient and your clinic’s reputation.
Optimising Before-and-After Photos for Your Website

Displaying before-and-after photos effectively on your website is essential. Beyond simply uploading them, you need to ensure they communicate results clearly and build confidence with potential clients.
Your website acts as a digital shop window—these photos are the most eye-catching displays of your clinic’s expertise.
Strategic Placement for Maximum Impact
Placement matters. Position before-and-after photos where visitors naturally look—on relevant treatment pages, in a dedicated gallery, and selectively on your homepage.
Showing real outcomes alongside the specific service described increases credibility and user engagement.
Ensuring Authenticity: Avoiding Manipulation
Viewers quickly recognise unrealistic images, so authenticity is essential. Avoid filters, retouching, or lighting changes that misrepresent results. Limit edits to cropping or resizing only.
Where possible, ensure patients wear the same clothing for ‘before’ and ‘after’ photos to maintain consistency and trust.
Organising Your Visual Assets Effectively
As your image library grows, maintain an organised system so you can quickly locate the right photos for your website, social media, or other marketing materials.
A good approach is to use a clear naming convention for your files. Something like TreatmentType_PatientInitials_Date.jpg can be very helpful. For instance, LipFiller_AB_2024-10-15.jpg.
Here’s a simple way to categorise them:
- By Treatment: Group all photos related to a specific procedure (e.g., all rhinoplasty results together).
- By Patient: If you need to track a patient’s progress over multiple stages, keep their photos grouped.
- By Date: Useful for seeing how results evolve over time or for archiving.
Using cloud storage that’s secure and backed up is also a smart move. This way, your valuable visual assets are safe and accessible whenever you need them. It might seem like a bit of extra work upfront, but a well-organised library will save you so much time and hassle down the line.
Leveraging Before-and-After Photos in Marketing
Before-and-after photos serve as a powerful marketing asset. They provide potential clients with tangible proof of achievable results, bridging the gap between aspiration and reality.
Used ethically and strategically, these visuals can strongly influence a prospective patient’s decision-making process and strengthen trust in your clinic.
Integrating Visuals into Digital Advertising
In online advertising—whether on social media or search platforms—the visual element captures attention first. Before-and-after photos help your ads stand out by showing results rather than describing them.
Carousel formats work particularly well, allowing users to swipe from ‘before’ to ‘after’ and instantly see the transformation. Ensure your ads target audiences genuinely interested in aesthetic treatments, as well-placed visuals can boost engagement and enquiries.
Showcasing Results on Social Media Platforms
Social media is ideal for before-and-after imagery. Platforms such as Instagram and Facebook are highly visual, making them perfect for highlighting transformations. When posting, accompany each image with a short story about the patient’s journey and treatment (with consent).
Use relevant hashtags to increase reach and consider creating Instagram Story Highlights for each treatment type. Regular, high-quality posts keep your clinic visible and credible—but always secure explicit consent and remove identifiers before sharing.
Creating Compelling Case Studies
Developing short case studies adds depth to your results. A case study goes beyond a single image to tell the full patient story, including:
- Patient profile: anonymised background and goals
- Treatment plan: procedures chosen and reasons
- Before-and-after photos: multiple angles
- Patient testimonial: consented quote
- Outcome summary: treatment success
These narratives demonstrate both technical skill and patient care. Feature them on your website’s blog or newsletters to support your local SEO for clinics.
Maintaining Professionalism and Compliance
Different UK regulations govern aesthetic advertising and patient photography. Key points include:
Adhering to Regulatory Guidelines
Different areas have their own rules about advertising and patient information. For example, in the UK, there isn’t one single law for everything in aesthetics, but several regulations do apply. These cover things like:
- Advertising Standards Authority (ASA) and CAP Code: prohibit misleading before-and-after images or exaggerated claims.
- Local Government Act 2003: allows councils to licence specific aesthetic procedures.
- Health and Safety at Work etc. Act 1974: ensures a safe environment for practitioners and clients.
- MHRA: regulates medical devices such as fillers and lasers.
It’s your job to know these rules. Staying informed and compliant protects your clinic from penalties and strengthens patient confidence.
The Importance of Unaltered Images
Before-and-after images must remain authentic. Minor technical edits—such as cropping or colour balance—are fine, but altering a patient’s appearance breaches ASA guidelines. Consistency across your image set is vital; treat every photo the same way.
lance visual appeal with ethical practice by:
- obtaining clear written consent for every use,
- safeguarding patient identity,
- and focusing your content on treatment quality rather than brand promotion.
Being transparent about what can realistically be achieved builds long-term trust and credibility.
Balancing Visual Appeal with Ethical Practice
It’s a balancing act, for sure. You want your photos to look great and show off the amazing work you do, but you also have to be ethical. This means:
- Getting clear consent: Always get written permission from patients before using their photos. Make sure they understand where the photos will be used and that they can withdraw consent.
- Protecting patient privacy: If you’re using photos online, make sure no personal details are visible.
- Focusing on the service, not just the outcome: While results are important, your advertising should focus on the medical services and treatments you offer, rather than specific brands or equipment.
Here’s a quick look at what to consider:
| Aspect | What to Do | What to Avoid |
|---|---|---|
| Image Authenticity | Use unedited photos showing genuine results. | Photoshopping, filters, or altering patient appearance. |
| Patient Consent | Obtain express written consent for all photo usage. | Using photos without permission or assuming consent. |
| Transparency | Clearly state the treatment performed and any limitations. | Making misleading claims or implying unrealistic outcomes. |
| Regulatory Adherence | Stay informed about and follow all relevant advertising guidelines. | Ignoring local or national advertising laws and professional body rules. |
Conclusion
Before-and-after photos can significantly strengthen your aesthetic clinic’s website and marketing presence. They are not simply images but credible evidence of your professional standards.
Prioritise consistency, lighting, and identical angles; obtain explicit consent; and present results honestly. Used thoughtfully, these visuals showcase your expertise, build patient trust, and reinforce your clinic’s reputation for integrity and quality care.